Showing posts with label radial. Show all posts

Wednesday, November 7, 2012

On the side note of a masterpiece

No studs anywhere, it is covered by flat surfaces and curved edges. Sydag likes to hide studs on his aircraft. The colors are bright, but the aircraft is real. This one is a Hawker Sea Fury for example:


The shape matches its real world counterpart almost perfectly. The engine looks great with its eight-sided shape, but the rear part of fuselage, the the arc of the wings are all perfect. The color choice is a bit unusual, it seems to be an air racer, but the shape makes it very clear that the basis is a war machine.

Amongst the images there are more war-like creations too. This one is another legendary aircraft with a radial engine: an F4U Corsair fully armed:


To me these models with all their perfection seem almost a little bit "too synthetic": it feels like they want to hide their studs and I start to have doubts if they are made of LEGO bricks. But the finish is perfect: the body, the wing of the Corsair are all a perfect copy of the original. It is no coincidence that a the newest models ended up on Brothers Brick.

As an amateur builder I get very curious too: how? What is under the skin? Ok, I have some ideas about the wing, but how is the engine built? Fortunately there are quite strong hints amongst the photos. Voila:

The brilliant part is the 4-studded bricks in the front that are rotated in 45 degrees to form a skeleton for the 8-sided shape. The rear part is also very interesting as it is basically a skin held together by bricks with studs on the side. Take a look at the canopy too: the front part is held in place by a gray minifig hand.

Feels like no matter how many aircraft I build as an amateur I will never get to this level. No matter how much I tease my brain I will not be able to build so freely in all dimensions, and not stick to plates and bricks. Congratulations, Sydag, keep up the good work!

Friday, February 12, 2010

The Old Lady flies again

It was almost a year ago when I completed the airplane with the radial engine. Luckily it is still in one piece and now that the Lego Technic Challenge was looking for flying things I got enthusiastic again and fixed a couple of small things that I have always wanted to fix.


First, the closing mechanism of the canopy was not robust enough, it opened very easily. The new version can be closed properly and stays like that. I have also changed the front part of the vertical fin so that it is more firmly attached to the tail.


The gears are now also attached in a more robust way.


Last but not least I have made new photos and a new video too, here it comes:

Saturday, February 21, 2009

Airplane with radial engine

As promised I built an airplane around the radial engine. I did not want to make it too complicated so the result is a 2-seat training plane. The yoke works as expected operating the elevators and the ailerons but there is two of them linked together. The gears are damped with springs and the canopy can be opened supported by a spring when it is open. It would have been more elegant to use a damped spring but that would have taken too much space, and the aircraft almost falls down from the self already...


More photos in the album. There is a video too:

Radial engine

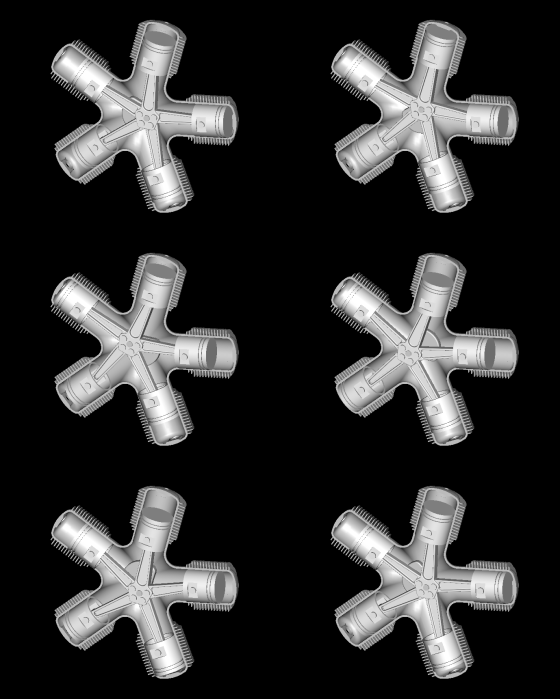
I have to admit that besides cars I also have a passion for airplanes. It is no wonder I have started thinking about doing a radial engine (Wikipedia article). This configuration is used mostly on aircraft and it looks like this:


After some skunk work I have decided to implement one based on betula's design. The first prototype is ready and looks like this:


There are some differences though (besides the colors of course). For example in Betula's design none of the rods are fixed to the hub of the engine. To me this lead to some problems in practice. When changing the direction of the rotation it sometimes got stuck. In my design there is a master cylinder attached to the hub. It rotates very smoothly and does not have a tendency to get stuck. The other change is that instead of using a gear in building the crankshaft I use the normal half-pin shift part even though it means the engine got a bit longer.

And how does it look like while working? Like this:


Now if only I had time to build an airplane... (More images in the album.)